1. Turbopilot 프로젝트 소개
들어가기에 앞서, 이 전 포스트에서 LLaMA라는 인공지능을 소개하고 LLaMA.cpp 프로젝트 셋팅 및 사용까지 해보았습니다. 이 프로젝트를 기반으로 탄생하고 있는 수많은 프로젝트와 Model들이 있는데요. 여러가지 나온 것 중에 개발자에게 유익한 프로젝트가 있어서 소개하고자 합니다.
 프로젝트는 turbopilot라는 명으로 며칠 전에 공개가 되었으며, github의 copilot을 로컬환경에서 사용해볼 수 있는 프로젝트로 보여집니다.
또한 이 turbopilot은 GPU가 없어도 되며 4GB의 메모리 공간만 있다면 사용해볼 수 있다고 하니, 외부 API에 코드를 전송하면 안되는 상황(ex. 사내망 등)의 개인 PC에서도 활용성이 있어보이네요 :)
프로젝트는 turbopilot라는 명으로 며칠 전에 공개가 되었으며, github의 copilot을 로컬환경에서 사용해볼 수 있는 프로젝트로 보여집니다.
또한 이 turbopilot은 GPU가 없어도 되며 4GB의 메모리 공간만 있다면 사용해볼 수 있다고 하니, 외부 API에 코드를 전송하면 안되는 상황(ex. 사내망 등)의 개인 PC에서도 활용성이 있어보이네요 :)
2. 사용되는 Model
이 프로젝트도 역시나 AI 기반이기 때문에 사용되는 Model에 따라서 결과가 좌지우지 됩니다. 기본적으로는 ggml 포맷을 기반으로 한 CodeGen 프로젝트의 모델을 사용하고 있는데요. 혹시나 별도의 모델을 적용해보고 싶으시다면 이 링크를 참고해주시면 되겠습니다.
그래서 이 프로젝트에서 기본적으로 사용되는 모델들이 무엇인가 보면, 파라미터 개수가 비교적 낮은 350M, 2B, 6B를 사용한것으로 보여지구요. 이 모델들은 C, C++, Go, Java, JavaScript, Python 언어를 기반으로하여 pre-train을 진행했다고 하네요. (즉, 이 외의 언어로 개발한다면 잘 안될수도…)
위의 모델들은 프로젝트 개발자가 Google Drive로 공유를 해주었으니, 원하는 모델을 다운로드 받아서 활용하시면 되겠습니다.
3. 아 됐고 셋팅법! (API 서버 셋팅))
1) 설치 순서 요약
1
2
3
4
- 사전 설치
- 프로젝트 셋팅하기
- 소스코드 컴파일 하기
- API 서버 실행하기
2) Step-by-Step 환경 셋팅하기
2-1) 사전 설치 (참고)
- MacOS
1
brew install cmake boost - Ubuntu
1
2
  sudo apt update
  sudo apt install libboost-dev cmake build-essential
2-2) 프로젝트 셋팅하기
- 프로젝트 clone
1
  git clone https://github.com/ravenscroftj/turbopilot.git
- ggml(이 프로젝트 개발자가 fork한 ggml)을 submodule init 및 update
1 2 3
cd turbopilot/ git submodule init git submodule update - 또는 그냥 ggml clone 하기
1
2
  cd turbopilot/
  git clone https://github.com/ravenscroftj/ggml.git ./ggml
2-3) 소스코드 컴파일 하기
- CMake 하기
1
2
3
4
5
6
7
8
9
10
11
12
13
14
15
16
17
18
19
20
21
22
23
24
25
26
27
28
29
  (base) ➜  turbopilot git:(main) mkdir ggml/build
  (base) ➜  turbopilot git:(main) cd ggml/build
  (base) ➜  build git:(master) cmake ..
  -- The C compiler identification is AppleClang 14.0.0.14000029
  -- The CXX compiler identification is AppleClang 14.0.0.14000029
  -- Detecting C compiler ABI info
  -- Detecting C compiler ABI info - done
  -- Check for working C compiler: /Library/Developer/CommandLineTools/usr/bin/cc - skipped
  -- Detecting C compile features
  -- Detecting C compile features - done
  -- Detecting CXX compiler ABI info
  -- Detecting CXX compiler ABI info - done
  -- Check for working CXX compiler: /Library/Developer/CommandLineTools/usr/bin/c++ - skipped
  -- Detecting CXX compile features
  -- Detecting CXX compile features - done
  -- Found Git: /usr/bin/git (found version "2.37.1 (Apple Git-137.1)")
  -- ARM detected
  -- Performing Test CMAKE_HAVE_LIBC_PTHREAD
  -- Performing Test CMAKE_HAVE_LIBC_PTHREAD - Success
  -- Found Threads: TRUE
  -- CMAKE_SYSTEM_PROCESSOR: arm64
  -- ARM detected
  -- Accelerate framework found
  -- ARM detected
  -- Accelerate framework found
  -- Found Boost: /opt/homebrew/lib/cmake/Boost-1.81.0/BoostConfig.cmake (found version "1.81.0")
  -- Configuring done (1.4s)
  -- Generating done (0.1s)
  -- Build files have been written to: /Users/user/turbopilot/ggml/build
- make 하기
1
2
3
4
5
6
7
8
9
10
11
12
13
14
15
16
17
18
19
20
  (base) ➜  build git:(master) make codegen-serve
  [ 14%] Building C object src/CMakeFiles/ggml.dir/ggml.c.o
  [ 28%] Linking C static library libggml.a
  [ 28%] Built target ggml
  [ 42%] Building CXX object examples/CMakeFiles/ggml_utils.dir/utils.cpp.o
  [ 57%] Linking CXX static library libggml_utils.a
  [ 57%] Built target ggml_utils
  [ 71%] Building CXX object examples/codegen/CMakeFiles/codegen-serve.dir/serve.cpp.o
  In file included from /Users/user/turbopilot/ggml/examples/codegen/serve.cpp:4:
  In file included from /Users/user/turbopilot/ggml/examples/codegen/crow_all.h:6640:
  In file included from /opt/homebrew/include/boost/lexical_cast.hpp:32:
  In file included from /opt/homebrew/include/boost/lexical_cast/try_lexical_convert.hpp:44:
  In file included from /opt/homebrew/include/boost/lexical_cast/detail/converter_lexical.hpp:54:
  /opt/homebrew/include/boost/lexical_cast/detail/converter_lexical_streams.hpp:285:21: warning: 'sprintf' is deprecated: This function is provided for compatibility reasons only.  Due to security concerns inherent in the design of sprintf(3), it is highly recommended that you use snprintf(3) instead. [-Wdeprecated-declarations]
                      sprintf(begin,
      /* SNIP */                      ^
  4 warnings generated.
  [ 85%] Building CXX object examples/codegen/CMakeFiles/codegen-serve.dir/common.cpp.o
  [100%] Linking CXX executable ../../bin/codegen-serve
  [100%] Built target codegen-serve
2-4) 실행하기 (중간 테스트 과정)
- model 셋팅
- 앞서서 Google Drive를 통해서 원하는 모듈을 다운로드 받았을 건데, 이 파일을
models디렉터리에 추가해둡니다.1 2 3 4 5 6 7
(base) ➜ build git:(master) cd ../.. (base) ➜ turbopilot git:(main) ✗ ls BUILD.md CHANGELOG.md Dockerfile LICENSE.md README.md assets convert-codegen-to-ggml.py ggml models requirements.txt run.sh (base) ➜ turbopilot git:(main) ✗ ls models codegen-6B-multi-ggml-4bit-quant.bin readme.txt
- 그 후, 아래의 명령어로
codegen-serve를 실행!1 2 3 4 5 6 7 8 9 10 11 12 13 14 15 16 17 18 19 20 21
(base) ➜ turbopilot git:(main) ✗ ggml/build/bin/codegen-serve -m ./models/codegen-6B-multi-ggml-4bit-quant.bin main: seed = 1681736141 gptj_model_load: loading model from './models/codegen-6B-multi-ggml-4bit-quant.bin' - please wait ... gptj_model_load: n_vocab = 51200 gptj_model_load: n_ctx = 2048 gptj_model_load: n_embd = 4096 gptj_model_load: n_head = 16 gptj_model_load: n_layer = 33 gptj_model_load: n_rot = 64 gptj_model_load: f16 = 2 gptj_model_load: ggml ctx size = 5269.92 MB gptj_model_load: memory_size = 1056.00 MB, n_mem = 67584 gptj_model_load: ......................................... done gptj_model_load: model size = 4213.84 MB / num tensors = 335 system_info: n_threads = 4 / 10 | AVX = 0 | AVX2 = 0 | AVX512 = 0 | FMA = 0 | NEON = 1 | ARM_FMA = 1 | F16C = 0 | FP16_VA = 1 | WASM_SIMD = 0 | BLAS = 1 | SSE3 = 0 | VSX = 0 | (2023-04-17 12:55:43) [INFO ] Crow/1.0 server is running at http://0.0.0.0:18080 using 10 threads (2023-04-17 12:55:43) [INFO ] Call `app.loglevel(crow::LogLevel::Warning)` to hide Info level logs. (2023-04-17 12:55:49) [INFO ] Request: 127.0.0.1:54827 0x13580cc00 HTTP/1.1 POST /v1/engines/codegen/completions serve_response: number of tokens in prompt = 3917
http://localhost:18080에 접속 후Hello world가 뜨면 성공!
- 앞서서 Google Drive를 통해서 원하는 모듈을 다운로드 받았을 건데, 이 파일을
4. 아 됐고 셋팅법! (vscode 셋팅)
1) vscode에 연동하기
코드를 생성해줄 BackEnd 단은 모두 셋팅이 완료도었으며, 이제 이를 vscode의 플러그인과 연동하려 합니다. 연동할 플러그인은 vscode-fauxpilot이지만, turbopilot 개발자의 PR은 아직 반영되지 않아서 release link에서 별도 다운로드해야 하네요.
2) Step-by-step Ekfkgkrl
2-1) vscode에 연동 할 visx 파일 다운로드
2-2) vscode에서 vsix 파일로 플러그인 설치하기
- 명령어 팔레트(Ctrl+shift+P 또는 cmd+shift+p)를 열어
install from vsix입력하기 - 파일 선택창에서 다운로드 받은
fauxpilot-1.1.5-ravenscroft.vsix파일 선택하기
2-3) vscode 사용자 설정(json)에 아래 내용 추가
- 명령어 팔레트(Ctrl+shift+P 또는 cmd+shift+p)를 열어
open user settings(json)입력하기 - 열려진 json 셋팅 파일 내부에 아래 코드 추가하기
1
2
3
4
5
6
  {
      ... // other settings

      "fauxpilot.enabled": true,
      "fauxpilot.server": "http://localhost:18080/v1/engines",
  }
2-4) 플러그인 실행하기
- 명령어 팔레트(Ctrl+shift+P 또는 cmd+shift+p)를 열어
Enable Fauxpilot입력 후Enter
4. 대망의 결과보기
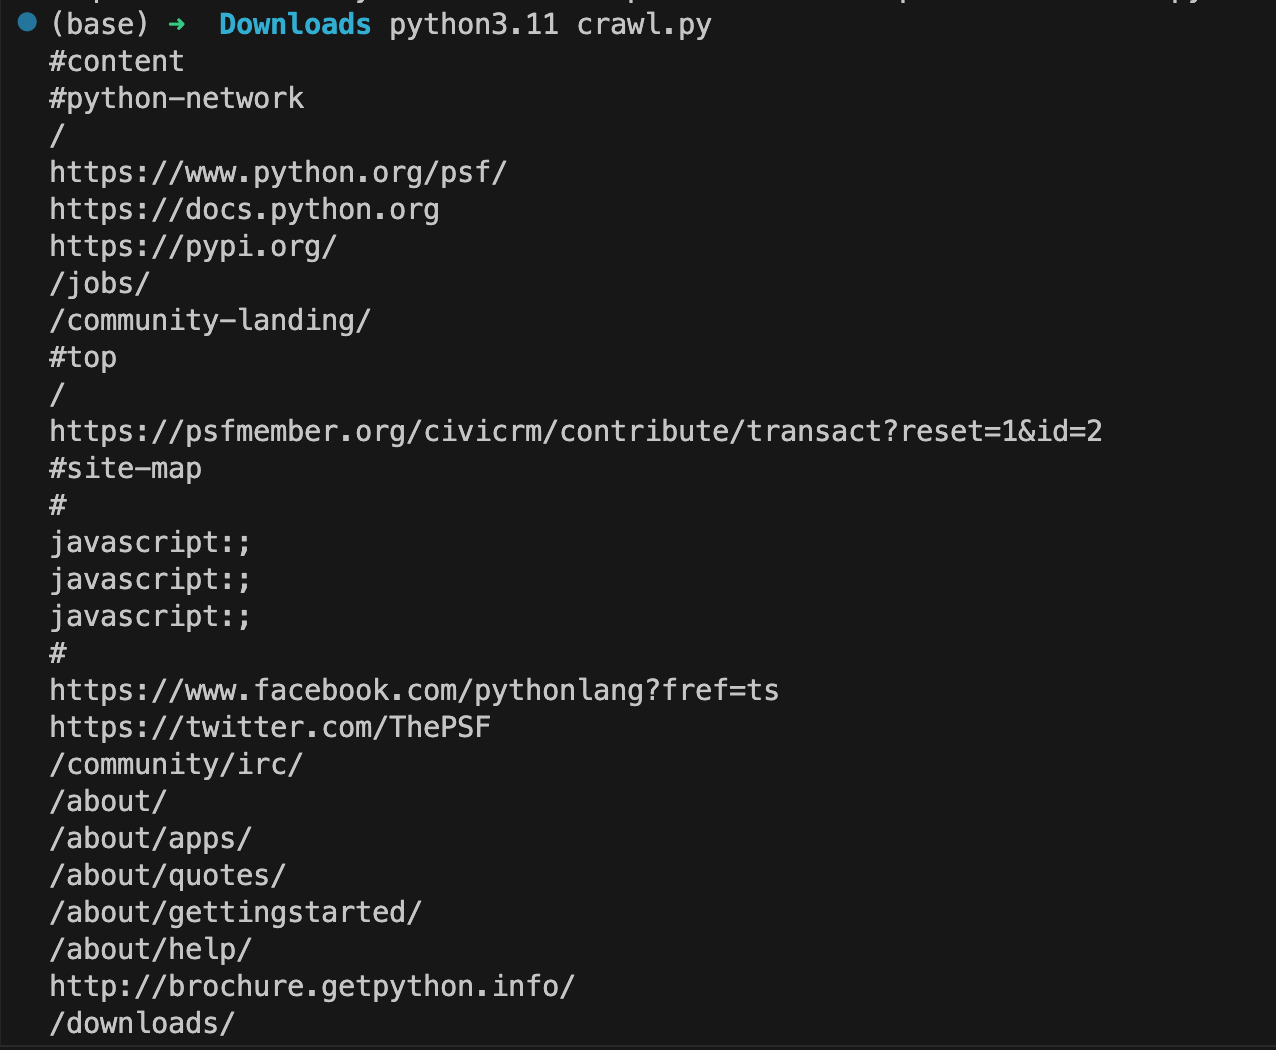
requests모듈로 url들 방문하기![turpopilot-gen-crawlfunc]()
- 위에서 생성한 함수 호출하기
![turpopilot-gen-mainfunc]()
- turbopilot이 개발한 코드 실행해보기 (조금 수정이 필요함..)
![turbopilot-codgen-run-result]()

5. 세 줄 요약
- 폐쇄망 및 로컬 환경에 코딩 도우미가 생겨서 좋았습니다.
- PC 혹은 기타 하드웨어 사양이 좋다면 다양한 언어셋을 학습시켜보는 것도 좋은 방법일 듯 합니다.
- 역시나 개인 로컬 머신에서 AI로 코드 생성하기에는 다소 느린감이 있네요 :)